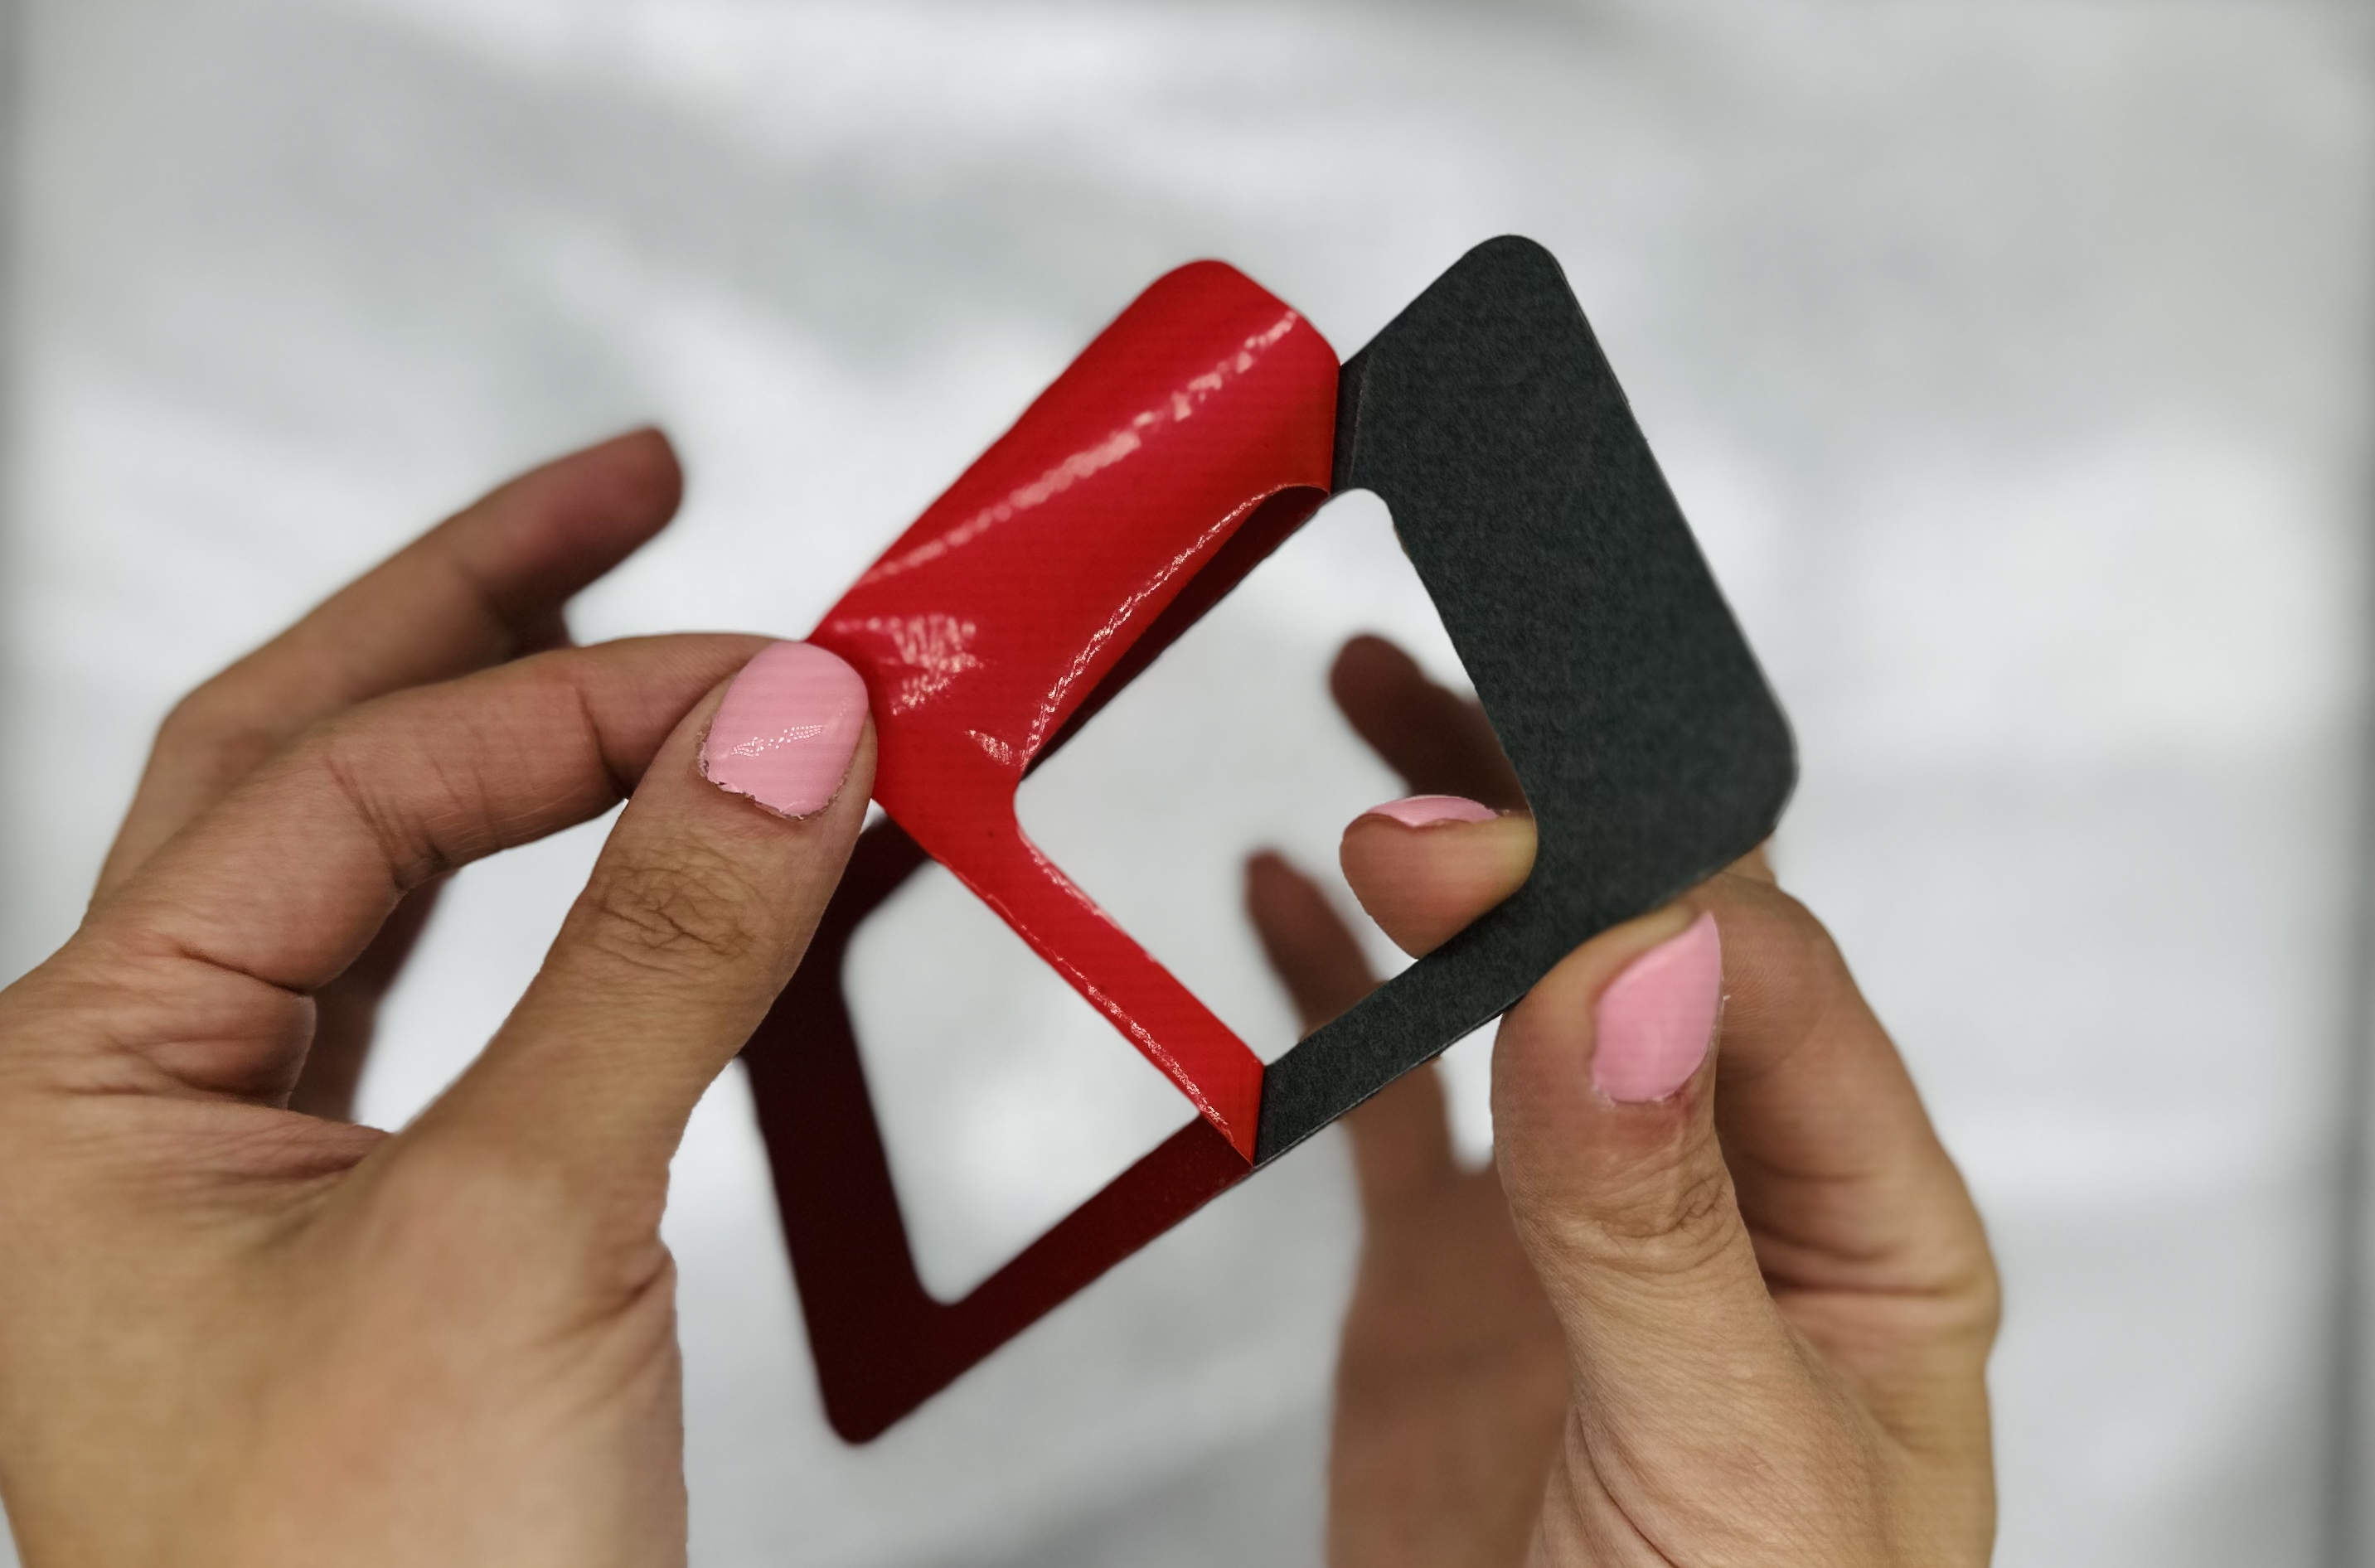
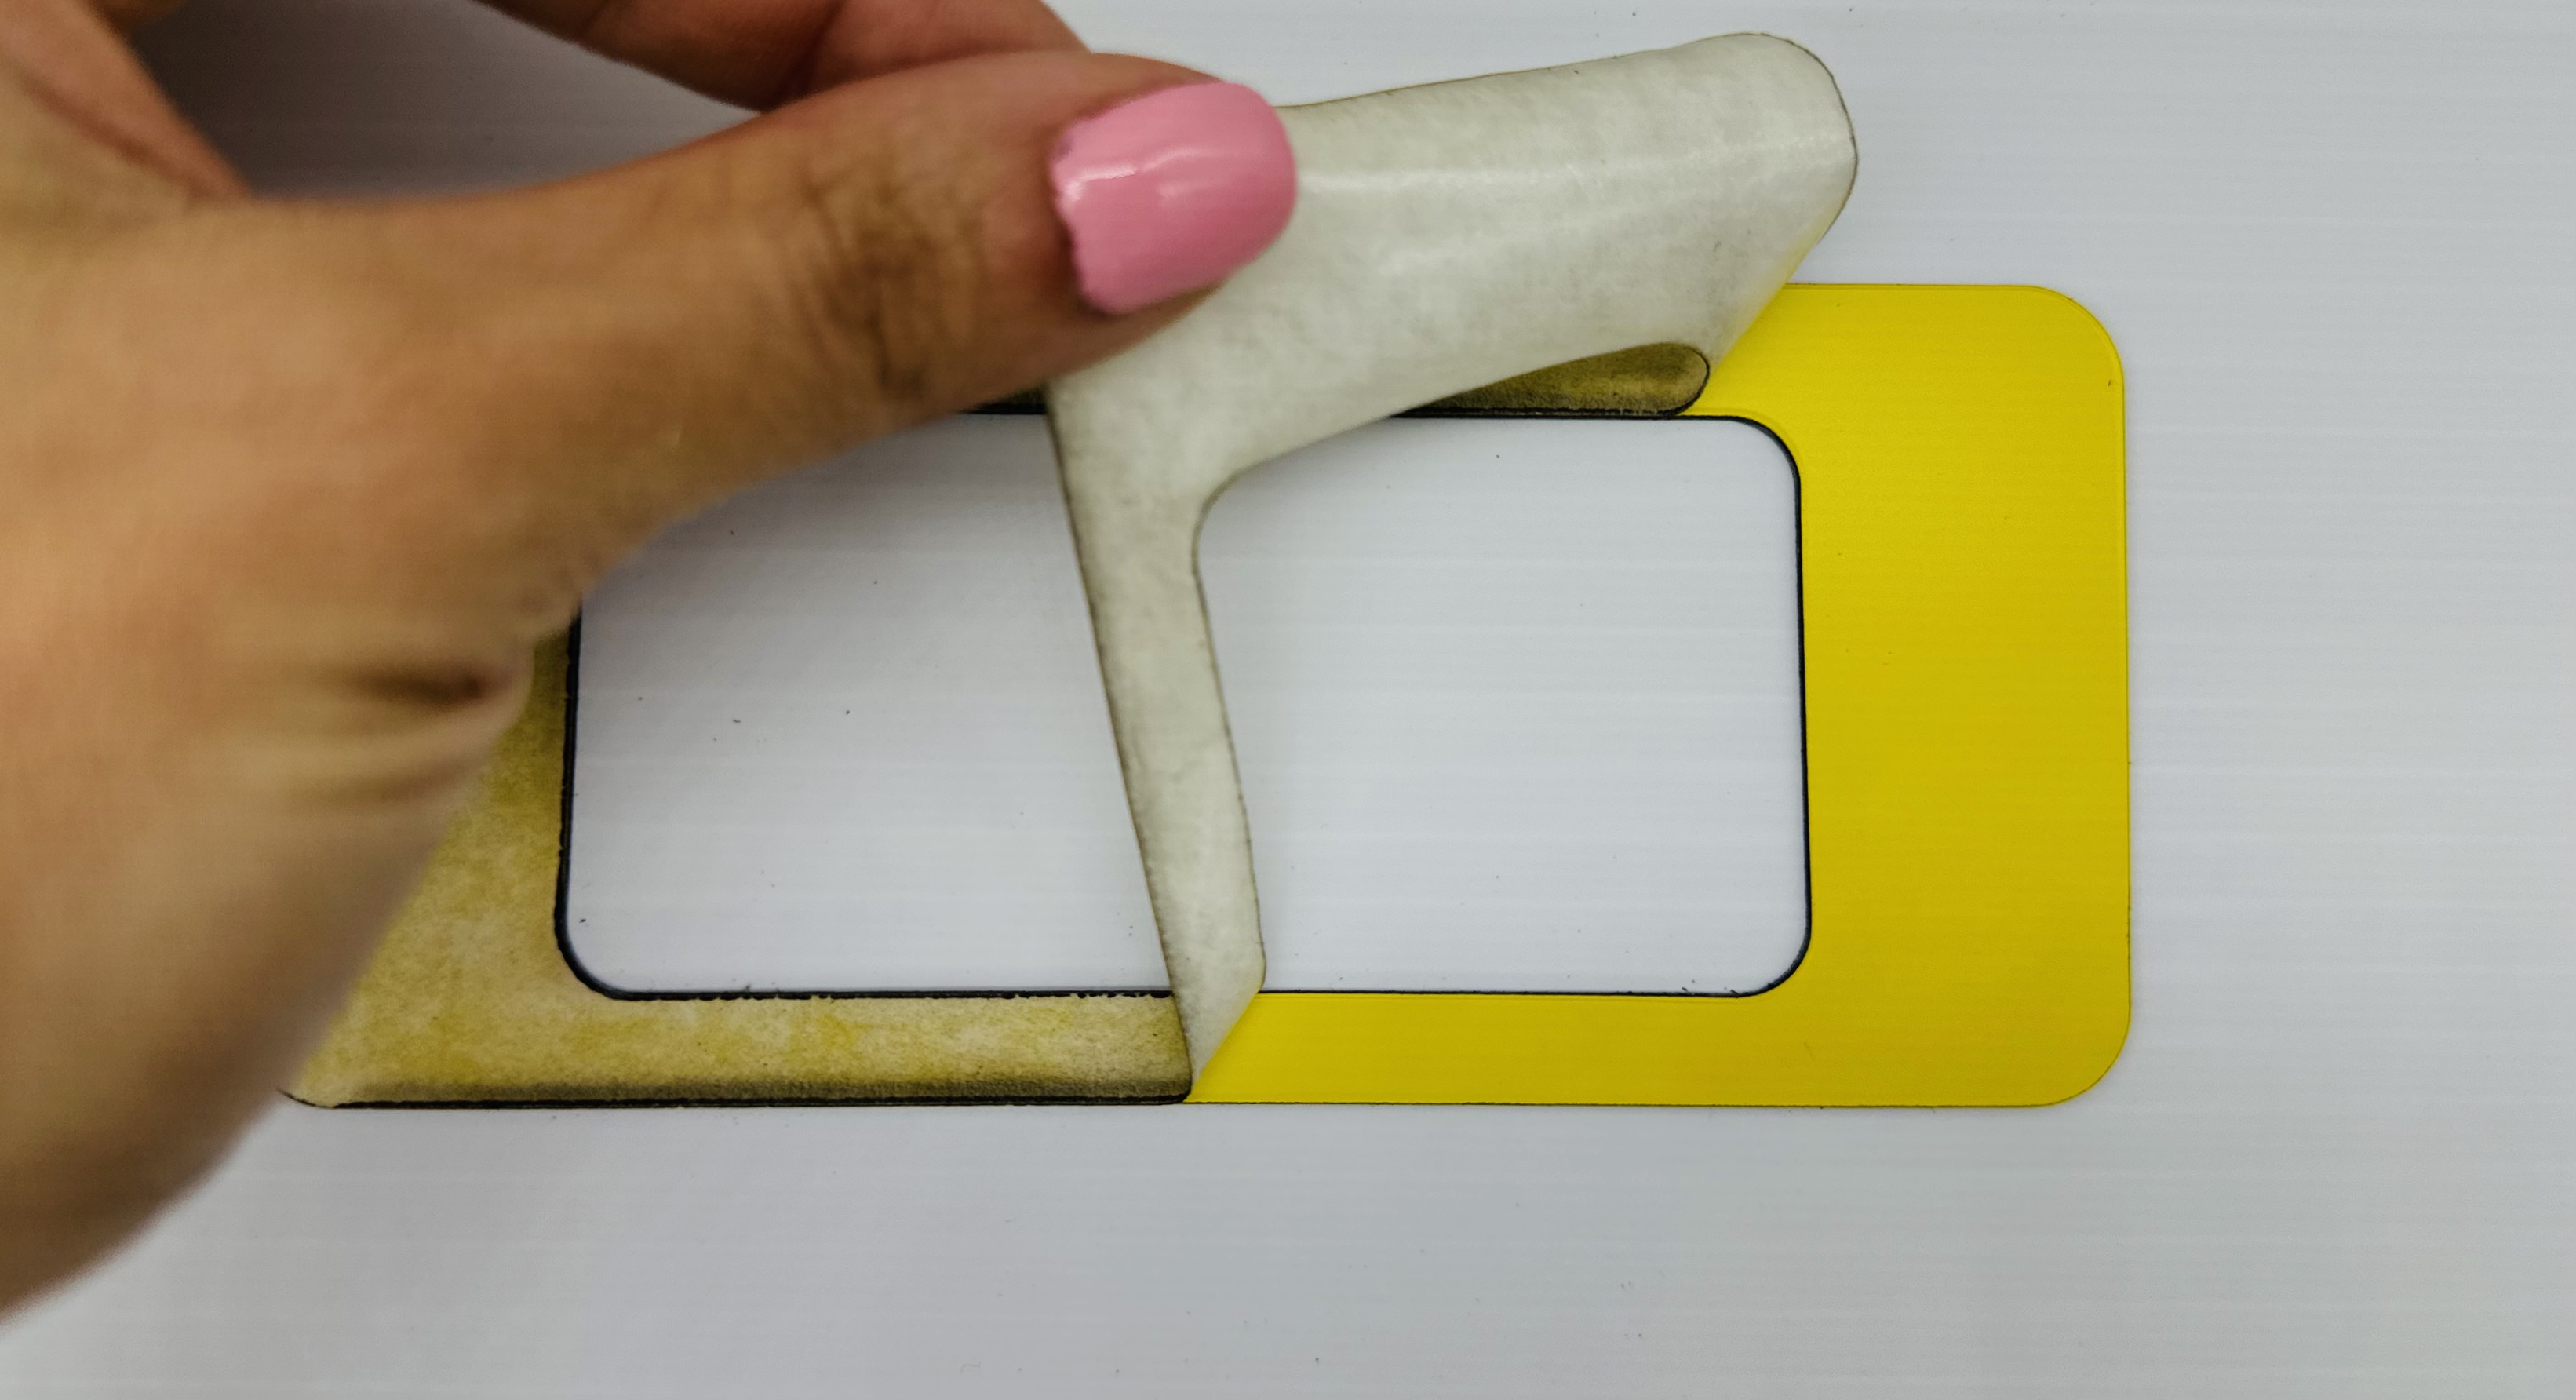
Hold the pieces by the edges to avoid touching the adhesive surface. Peel Red Protective tape out, place piece in position, align correctly and thoroughly press down on the entire surface of each piece to ensure a complete ’wet-out’ of adhesion to the surface. Repeat this step for all pieces you have. When red backing tape removed DO NOT TOUCH 3M adhesive surface!


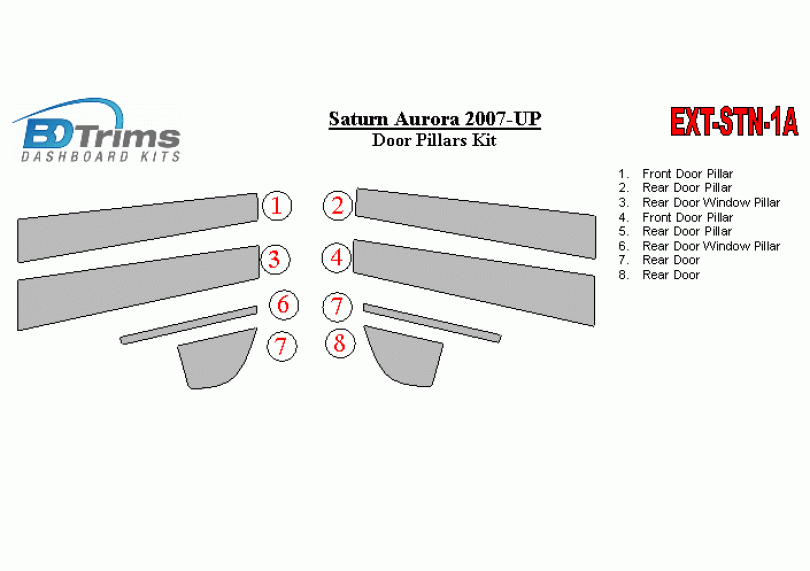
Saturn Aurora 2007-UP Exterior Door Window Pillar Post Cover Trim
Item id: EXT-STN-1A
Exterior Door Window Pillar Post Cover Trim – This is a cover, not a replacement part.Materials
Available in 3 colors, if there is something that you don't see it doesn't mean that we don't have it, contact us and we will surely fulfill any of your requests

 Precisely Laser-cut
in the USA
Features
Door Pillars are an easy way to emphasize your car’s exterior, depending on the type, they will add classy shine or make it look sporty.
Manufactured
to OEM standards
Self-adhesive backing stick-on, easy installed
Premium Quality
finish
Weather and car wash safe
Outstanding resistance to long-term exposure to sunlight and weathering.
Simple installation
5 min to install into the window channel. Can be maintained without any technical skills.
Shipping, Returns and Warranty
Shipping
USPS Ground Advantage
2-5 days delivery in the USA
Returns
We offer simple return process. If for some reason you don’t like it, just contact us within 7 days and we will guide you through the entire refund process.
100% FREE returns, shipping label is on us.

5 year warranty
We stand by the quality of our products for as long as you own your car. If you need a replacement or any fixes, please contact us. We will be happy to work with you.
Installation


Remove front side clear or white protective tape from all pieces.

Enjoy our product.

Thoroughly clean the area where the pieces are to be applied with a clean, lint-free cloth and the alcohol swabs provided or with 3M Solvent 70*, to remove ALL residue and dirt.
A test can be performed for cleanliness with ordinary masking tape, if the tape sticks easily to the surface, if not repeat the cleaning process.

Without removing the red backing tape, ’dry-fit’ ALL pieces, noting correct placement, joins and angles.
ALL pieces should be checked «dry-fit» before proceeding to Step 3. Immediately stop installation procedure and contact us even if one piece doesn’t fit.
Any money back or refund requests based on fitting issues will be declined once the kit or partial pieces are installed. Only replacement and correction requests will be reviewed and accepted.

Gently heat the parts with a hairdryer or heat gun set to low. Keep the heat source at least 5″ away from the piece. Pieces will become flexible with application of heat.
Placing the pieces (backing tape side down) on the top of the dash with the front window defrost set to medium for 15 minutes, warms & keeps all pieces ready for installation.
Alternately, on sunny days, laying the kit in the sun for 10-15 mins will have the same effect.

Hold the pieces by the edges to avoid touching the adhesive surface. Peel Red Protective tape out, place piece in position, align correctly and thoroughly press down on the entire surface of each piece to ensure a complete ’wet-out’ of adhesion to the surface. Repeat this step for all pieces you have. When red backing tape removed DO NOT TOUCH 3M adhesive surface!

Remove front side clear or white protective tape from all pieces.

Enjoy our product.

Thoroughly clean the area where the pieces are to be applied with a clean, lint-free cloth and the alcohol swabs provided or with 3M Solvent 70*, to remove ALL residue and dirt.
A test can be performed for cleanliness with ordinary masking tape, if the tape sticks easily to the surface, if not repeat the cleaning process.

Without removing the red backing tape, ’dry-fit’ ALL pieces, noting correct placement, joins and angles.
ALL pieces should be checked «dry-fit» before proceeding to Step 3. Immediately stop installation procedure and contact us even if one piece doesn’t fit.
Any money back or refund requests based on fitting issues will be declined once the kit or partial pieces are installed. Only replacement and correction requests will be reviewed and accepted.

Gently heat the parts with a hairdryer or heat gun set to low. Keep the heat source at least 5″ away from the piece. Pieces will become flexible with application of heat.
Placing the pieces (backing tape side down) on the top of the dash with the front window defrost set to medium for 15 minutes, warms & keeps all pieces ready for installation.
Alternately, on sunny days, laying the kit in the sun for 10-15 mins will have the same effect.


